
Garage Epoxy Mistakes, Misconceptions, and How to Avoid Them
The common mistakes that ruin garage epoxy floors — from skipping prep to choosing the wrong finish — and how to prevent them before you coat.
Garage Epoxy Flooring
2026-10-15
Most garage epoxy failures are not product failures — they're preparation failures. A coating that peels, lifts, or blisters almost always traces back to a skipped or shortcut step in the process: an unground slab, an unrepaired crack, an untested moisture condition, or an existing coating that was coated over instead of removed. Understanding the common mistakes is the best way to avoid them, because the difference between a floor that lasts a decade and one that fails in a season is almost always in the preparation.
KD Epoxy Floor installs garage epoxy flooring across South Florida, from Palm Beach County to the Florida Keys. We've seen what happens when shortcuts are taken — and we've built our process to prevent every one of these failures. Here are the mistakes we see most often, the misconceptions that lead to them, and how to make sure your floor doesn't fall victim to them.
Mistake 1: Skipping the diamond grind
The single most common cause of epoxy failure is a coating applied to an unprepared slab. Without diamond grinding, the concrete's surface is smooth or contaminated with old sealer, curing compound, or laitance — and the epoxy has nothing to bond to. The coating sits on the surface and lifts under the first hot tire, the first dropped tool, or the first season of humidity.
The misconception is that epoxy is like paint — that it sticks to any clean surface. It isn't. Epoxy is a thermoset system that chemically bonds to the concrete's open pore structure, and that structure has to be opened by mechanical grinding. A coating applied without grinding is a coating that will fail. We grind every slab we coat, whether it's a residential garage or a commercial warehouse, because the preparation is what makes the product perform.
Mistake 2: Coating over an unrepaired crack
A coating bridges the surface under it. If that surface has an unrepaired crack, the coating telegraphs the crack through the finish and eventually fails at it — the crack reopens under the coating, and the coating splits with it. The misconception is that the epoxy will fill and seal the crack. It won't; it will bridge it, and a bridge over a moving crack is a failure waiting to happen.
The fix is repair before coating. Cracks are routed and cleaned to sound material, then filled with a material matched to the crack type — rigid epoxy paste for static cracks, flexible polyurea for moving joints. The repair is leveled and profiled so the coating bridges a sound, smooth surface. See our concrete crack and hole repair for the full repair scope.
Mistake 3: Ignoring moisture in the slab
Concrete is porous, and in South Florida's humidity, slabs can carry significant moisture — either from high water table, from rain saturation, or from vapor pressure through the slab. A coating applied over a moist slab can blister, delaminate, or fail as moisture vapor pushes through the surface. The misconception is that a dry-looking surface means a dry slab. It doesn't.
Moisture testing is part of our assessment on every floor. We test before we coat, and if the slab has high moisture content or vapor pressure, we address it before the coating goes down — either with a moisture mitigation system or by waiting for the slab to dry. Coating over a moisture problem is how a floor blisters within weeks of installation.
Mistake 4: Coating over a failing existing floor
A new coating bonds to the surface under it. If that surface is a failing, peeling, or soft existing coating, the new coating fails with it — the bond is only as strong as what it's bonded to. The misconception is that a new coat will seal and stabilize the old one. It won't; it will add weight and stress to a layer that's already failing.
The fix is testing adhesion first. If the existing coating is sound and well-bonded, it may be coated over. If it's peeling, soft, or incompatible, it has to come off mechanically so the new system bonds to concrete, not a failing layer. See our existing coating removal for the removal scope when the old floor has to come off.
Common epoxy mistakes and their fixes
- Skipping the grind → always diamond-grind before coating
- Coating over cracks → repair before coating, always
- Ignoring moisture → test every slab before coating
- Coating over failure → test adhesion, remove if failing
- Wrong finish for the use → match the finish to the traffic
Mistake 5: Choosing the wrong finish for the use
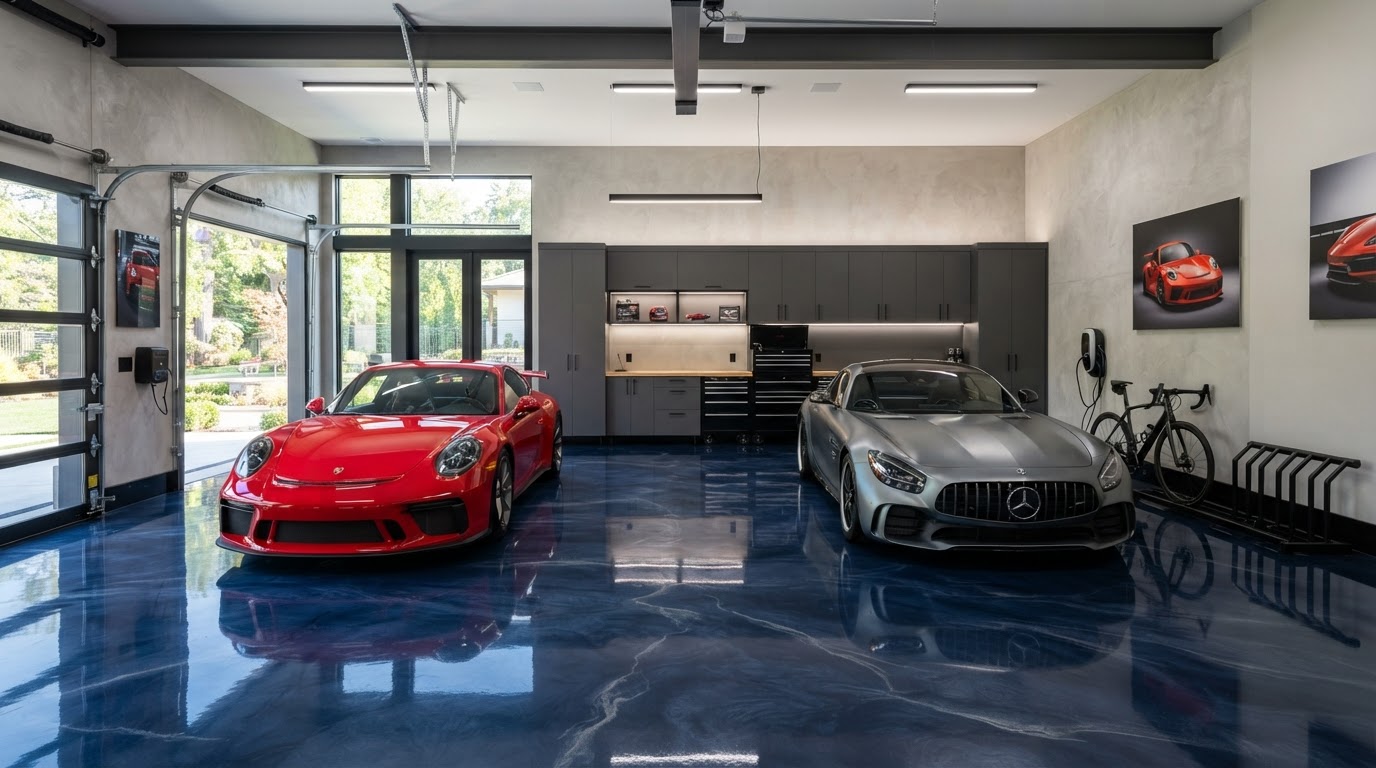
A high-gloss solid color in a garage that gets daily vehicle traffic, kids, and tools will show every scuff within weeks. A metallic finish in a utility garage is an investment in a look the use won't support. The misconception is that the finish is purely aesthetic — it isn't. The finish determines how the floor shows wear, and the wrong finish for the use is a floor that looks worn faster than it should.
The fix is matching the finish to the real use. For daily vehicle traffic, decorative flake is the most forgiving — it hides scuffs and dirt in its multi-color texture. For a showroom or a clean space, solid color delivers the crisp look. For a display garage, metallic is the statement. We bring samples and help you choose based on how you actually use the garage, not just how it looks in a photo.
Mistake 6: Rushing the cure window
A coating that's walked on, driven on, or loaded before it's fully cured is a coating that gets damaged before it reaches its strength. The misconception is that the floor is done when the topcoat is dry to the touch. It isn't — dry to the touch is not full cure, and full cure is what gives the floor its resistance to traffic and chemicals.
Pedestrian traffic is usually fine within 24 hours, but full cure before vehicle parking takes longer — typically three to seven days depending on the product and conditions. We tell you the exact timing for your system so you can plan around it. Rushing the cure is how a floor that should last years gets damaged in the first week.
How to make sure your floor doesn't fail
Every mistake above is preventable with the right process. We grind every slab, repair every crack, test for moisture, test existing coatings, match the finish to the use, and respect the cure window — because each step is what makes the floor last. The estimate is where we identify what your floor needs, and the installation is where we deliver it.
Share your city or ZIP and we'll confirm availability before scheduling the assessment. We serve South Florida from Palm Beach County to the Florida Keys, and we'll tell you honestly whether your area is within our working scope before we book the estimate.
Frequently asked questions
Why do epoxy floors peel?
Almost always because of preparation failure — the slab wasn't ground, the crack wasn't repaired, moisture wasn't tested, or a failing existing coating was coated over. The coating bonds to the surface under it, and if that surface is compromised, the coating fails with it.
Can I apply epoxy myself to save money?
DIY kits are available, but they skip the preparation that makes a floor last. Without diamond grinding, crack repair, and moisture testing, a DIY coating will lift under hot tires and fail within a season. The cost of professional preparation is the cost of a floor that lasts — a DIY kit is the cost of a floor that needs redoing.
Will hot tires really peel my epoxy floor?
Only if the coating isn't bonded to the slab. A properly prepared and bonded system resists hot-tire pickup because the epoxy is locked into the concrete's pore structure. Hot-tire peeling is a preparation failure, not a product limitation — which is why we grind and profile every slab.
How do I know if my slab has moisture problems?
We test for moisture as part of the assessment — before any coating goes down. High moisture content or vapor pressure can blister a coating, and in South Florida's humidity, testing is not optional. If the slab has a moisture issue, we address it before coating.
What's the biggest mistake people make with garage epoxy?
Skipping the preparation. A coating applied to an unground, unrepaired, untested slab is a coating that will fail — regardless of the product quality. The preparation is what makes the floor last, and it's the step that gets skipped most often when cost is the priority over durability.
Do you serve my area?
We serve South Florida from Palm Beach County to the Florida Keys. Share your project city or ZIP and we'll confirm availability before scheduling your estimate.
Want a floor that doesn't fail? Request a custom estimate and we'll do the preparation right.
More about Garage Epoxy Flooring
What Is Garage Epoxy Flooring? Suitability and Common Questions
A plain-language guide to what garage epoxy flooring actually is, who it's for, and the questions South Florida homeowners ask before coating their garage slab.
Garage Epoxy Options, Comparisons, and Cost Factors
Solid color, decorative flake, and metallic — how the three garage epoxy systems compare, what drives the price, and how to choose without invented numbers.
Garage Epoxy Preparation, Process, and Care
From diamond grinding to final cure — the step-by-step installation process for a garage epoxy floor, plus the care routine that keeps it looking new.