
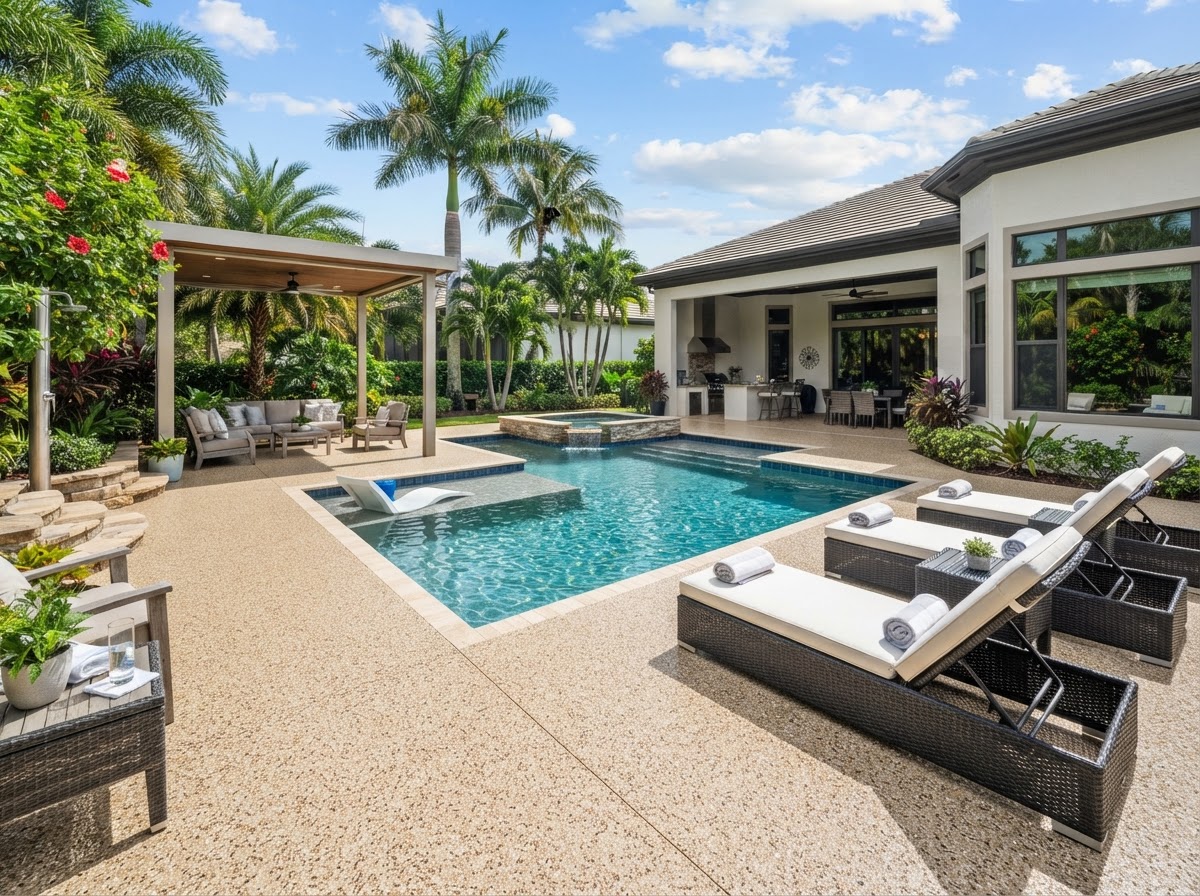
Patio & Pool Deck Coating Preparation, Process, and Care
The step-by-step installation process for a patio or pool deck coating — from slab prep through UV-stable, slip-resistant topcoat — plus the care routine that keeps it looking new.
Patio & Pool Area Coatings
2026-10-15
A patio or pool deck coating is only as durable as the preparation underneath it — and on an outdoor surface that sees sun, chlorine, and barefoot traffic, that durability is tested every day. The UV-stable, slip-resistant system — basecoat, topcoat, aggregate — bonds to a mechanically prepared slab, and every step in the process exists to make that bond hold up to the exterior exposure. Here is what the installation actually involves, step by step, and how to care for the pool deck once it's done.
KD Epoxy Floor installs patio and pool area coatings across South Florida, from Palm Beach County to the Florida Keys. We follow the same process on every pool deck because the steps are what make the system perform in the sun and the wet. Understanding the process helps you plan around the cure window — and knowing the care routine helps the pool deck stay looking new for years.
Step 1: Assess and prepare the slab
Before any coating goes down, we assess the slab for moisture, check any existing coating for adhesion, and identify cracks, spalls, and joints that need repair. For a pool deck, we also assess the drainage, the sun exposure, and the chlorine exposure — because a pool deck that holds water or bakes in full sun needs a system specified for those conditions. The assessment tells us what the pool deck needs before we quote it.
We then diamond-grind the slab to open the surface and remove contaminants — old sealer, chlorine residue, laitance — that would prevent the coating from bonding. See our diamond concrete preparation and polishing for the full prep scope. The preparation is what makes the UV-stable system bond to the concrete, and on a pool deck, the prep also has to account for the chlorine and the organic residue that interior slabs don't see.
Step 2: Repair cracks and spalls
Cracks are routed and cleaned to sound material, then filled with a material matched to the crack type — rigid for static cracks, flexible for moving joints. Spalls and holes are patched. See our concrete crack and hole repair for the repair scope. The repair is leveled so the coating bridges a sound, smooth surface — because a pool deck with cracks underneath is a pool deck that fails at the cracks, regardless of the UV stability on top.
Step 3: Apply the basecoat and topcoat
The UV-stable basecoat is applied to the prepared slab. The basecoat creates the bond and the color base. The topcoat — polyaspartic or UV-stable epoxy — follows, sealing the system and providing the UV resistance. The timing between coats follows the manufacturer's recoat windows so the layers bond to each other chemically.
For a polyaspartic topcoat, the application is fast — the working time is short, so the topcoat has to go down quickly and evenly. For a UV-stable epoxy, the working time is longer, allowing a more controlled application. The topcoat is what takes the sun, the chlorine, and the barefoot traffic — it's the wear surface, and it's where the UV stability lives.
Step 4: Aggregate for wet traction
For a pool deck, an anti-slip aggregate is broadcast into the topcoat while it's wet. The aggregate adds grip without changing the color, and for a surface that's wet and barefoot, it's the difference between a safe pool deck and a slip hazard. See our slip-resistant flooring systems for the traction options. The topcoat with the aggregate is the wear surface and the traction layer — and for a pool deck, it's not optional.
Installation steps at a glance
- Assess — moisture, drainage, sun and chlorine exposure, slab defects
- Grind — diamond-grind and profile for adhesion
- Repair — cracks, spalls, and joints
- Basecoat — UV-stable basecoat applied
- Topcoat — polyaspartic or UV-stable epoxy
- Aggregate — anti-slip broadcast for wet barefoot traction
The cure window
After the topcoat goes down, the pool deck enters its cure window. A polyaspartic topcoat can accept traffic in hours; a UV-stable epoxy may take a day or more. We tell you the exact timing for your system so you can plan around it — because a pool deck that's walked on before it's cured is a pool deck that gets damaged before it reaches its strength.
Caring for your patio coating
The care routine is straightforward. Rinse the pool deck regularly to remove chlorine, salt, and debris. Clean sunscreen and organic stains promptly — the UV-stable topcoat resists them, but wiping them up keeps the finish looking new. For a pool deck with an anti-slip aggregate, a brush handles the textured areas that a mop alone might miss.
If the topcoat dulls in high-traffic areas over time, a recoat restores it without removing the whole system. The coating underneath is still sound — it's the topcoat that wears, and a recoat is how you refresh the pool deck without redoing it. We can set a maintenance schedule based on the traffic and the sun exposure so the next recoat is planned, not reactive. See our coated floor renovation and maintenance for the maintenance scope.
Daily care routine
- Rinse regularly — remove chlorine, salt, and debris
- Clean sunscreen and organic stains promptly
- Use a brush for textured areas
- Keep drainage clear of debris
- Recoat the topcoat when wear appears
Frequently asked questions
How long does a pool deck coating installation take?
It depends on the system. A polyaspartic topcoat can accept traffic in hours; a UV-stable epoxy may take a day or more. We tell you the exact timeline after the assessment so you can plan around the cure window.
How do I maintain a pool deck coating?
Rinse regularly to remove chlorine and debris, clean sunscreen and organic stains promptly, use a brush for textured areas, and keep the drainage clear. If the topcoat wears in high-traffic areas, a recoat restores it without redoing the whole pool deck. See our coated floor renovation and maintenance for the full scope.
How soon can I walk on my new pool deck coating?
It depends on the topcoat. A polyaspartic topcoat can accept traffic in hours; a UV-stable epoxy may take longer. We tell you the exact timing for your system so you can plan around it — walking on it before it's cured damages the coating.
Will the pool deck coating fade in the sun?
A properly specified UV-stable system holds its color and its gloss in the sun. A non-UV-stable topcoat would chalk and fade in a season. We specify UV-stable systems for every pool deck so the coating stays finished for years, with a recoat on schedule to refresh it.
Is the anti-slip aggregate necessary?
For a South Florida pool deck that sees wet barefoot traffic, yes. A smooth coating can be slick when wet; the aggregate adds grip without changing the color. It's the choice that makes a pool deck safe, and it's not a place to save.
Do you serve my area?
We serve South Florida from Palm Beach County to the Florida Keys. Share your project city or ZIP and we'll confirm availability before scheduling your estimate.
Ready for a pool deck coating that lasts? Request a custom estimate and we'll walk you through the process.
More about Patio & Pool Area Coatings
What Are Patio & Pool Deck Coatings? Suitability and Common Questions
A clear guide to UV-stable patio and pool deck coatings — what they are, where they work, and the questions homeowners ask before coating an outdoor living surface.
Patio & Pool Deck Coating Options, Comparisons, and Cost Factors
How UV-stable patio coatings compare to bare concrete and interior epoxy — and what drives the cost of a protected, slip-resistant pool deck.
Patio & Pool Deck Coating Mistakes, Misconceptions, and How to Avoid Them
The common mistakes that undermine patio and pool deck coatings — from wrong topcoat to skipped traction — and how to prevent them before you install.